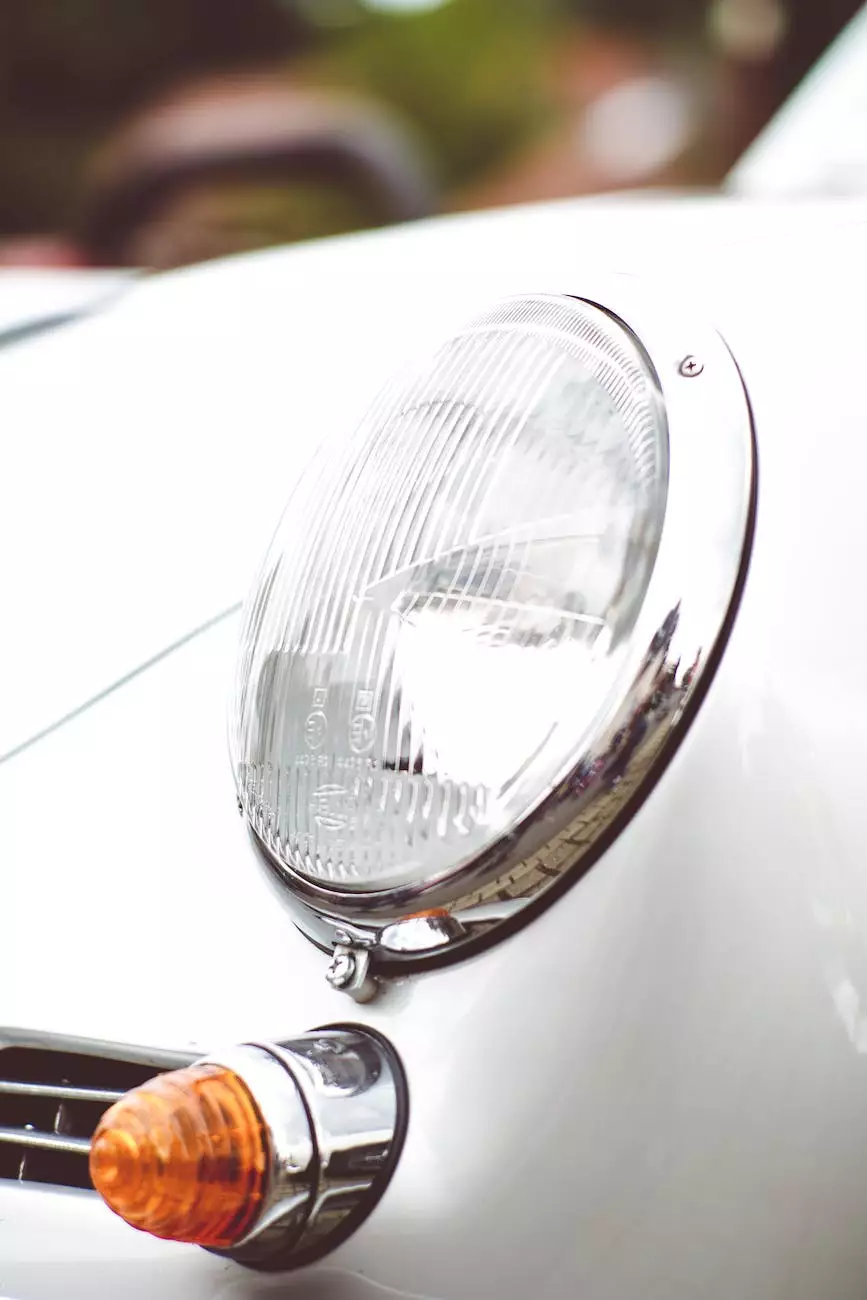
W123 Headlight Removal, Inspection, and Bulb Replacement
Introduction
Welcome to Grafco Electric! We are your go-to source for all your automotive electrical needs. In this detailed guide, we will walk you through the process of removing, inspecting, and replacing the headlight bulb on your W123 vehicle. Our demand video and comprehensive instructions will ensure that you have the knowledge and confidence to tackle this task on your own. Let's get started!
Why is Headlight Maintenance Important?
Headlights are a crucial component of any vehicle, providing visibility and safety while driving in low-light conditions. Regular maintenance of headlights not only ensures optimal performance but also contributes to the overall aesthetics of your vehicle. Faded or malfunctioning headlights can affect the visibility of your vehicle on the road and compromise your safety and the safety of other drivers.
Tools and Materials Required
- W123 headlight bulb (ensure compatibility with your vehicle model)
- Screwdriver
- Gloves
- Clean cloth
- Protective eyewear
Step-by-Step Guide
Step 1: Preparation
Prior to starting the headlight removal process, make sure your vehicle is parked in a safe and well-lit area. It is recommended to work on one headlight at a time. Wear gloves and protective eyewear to prevent any injuries or damage to your eyes. Also, ensure that the engine is turned off and the keys are removed from the ignition.
Step 2: Accessing the Headlight Assembly
Open the hood of your W123 and locate the headlight assembly. Depending on your specific model, you may need to remove certain parts or panels to gain access to the headlight assembly. Consult your vehicle's manual or online resources for detailed instructions specific to your vehicle model.
Step 3: Removing the Bulb
Once you have access to the headlight assembly, locate the bulb socket. Carefully disconnect the electrical connector attached to the bulb by gently pressing on the release tab and pulling it away from the socket. Next, rotate the bulb counterclockwise to release it from the socket. Be cautious while handling the bulb to avoid damaging it or getting any dirt or oil on the surface.
Step 4: Inspection and Cleaning
Take a moment to inspect the bulb's condition and the interior of the headlight assembly. Look for any signs of damage, such as cracks or discoloration, which may indicate a faulty bulb or a problem with the headlight assembly. If necessary, clean the assembly and the bulb socket using a clean cloth to remove any dirt or debris.
Step 5: Installing the New Bulb
Take the new W123 headlight bulb and insert it into the bulb socket, ensuring a proper fit. Rotate the bulb clockwise until it locks into place. Reconnect the electrical connector to the bulb socket, making sure it is securely attached. Avoid touching the glass part of the bulb with your bare hands, as oil from your skin can damage the bulb.
Step 6: Reassembling and Testing
Once the new bulb is installed, carefully reassemble any parts or panels that were removed earlier to access the headlight assembly. Double-check that all connections are secure. Close the hood and start your vehicle to test the newly installed headlight. If the light is functioning properly, congratulations! You have successfully completed the W123 headlight removal, inspection, and bulb replacement process.
Conclusion
At Grafco Electric, we understand the importance of well-maintained headlights for your safety and the overall performance of your vehicle. Our detailed demand video and comprehensive instructions have provided you with the expertise to confidently tackle the W123 headlight removal, inspection, and bulb replacement process. Remember, if you have any questions or encounter any difficulties, feel free to reach out to our knowledgeable team. Stay safe on the roads!