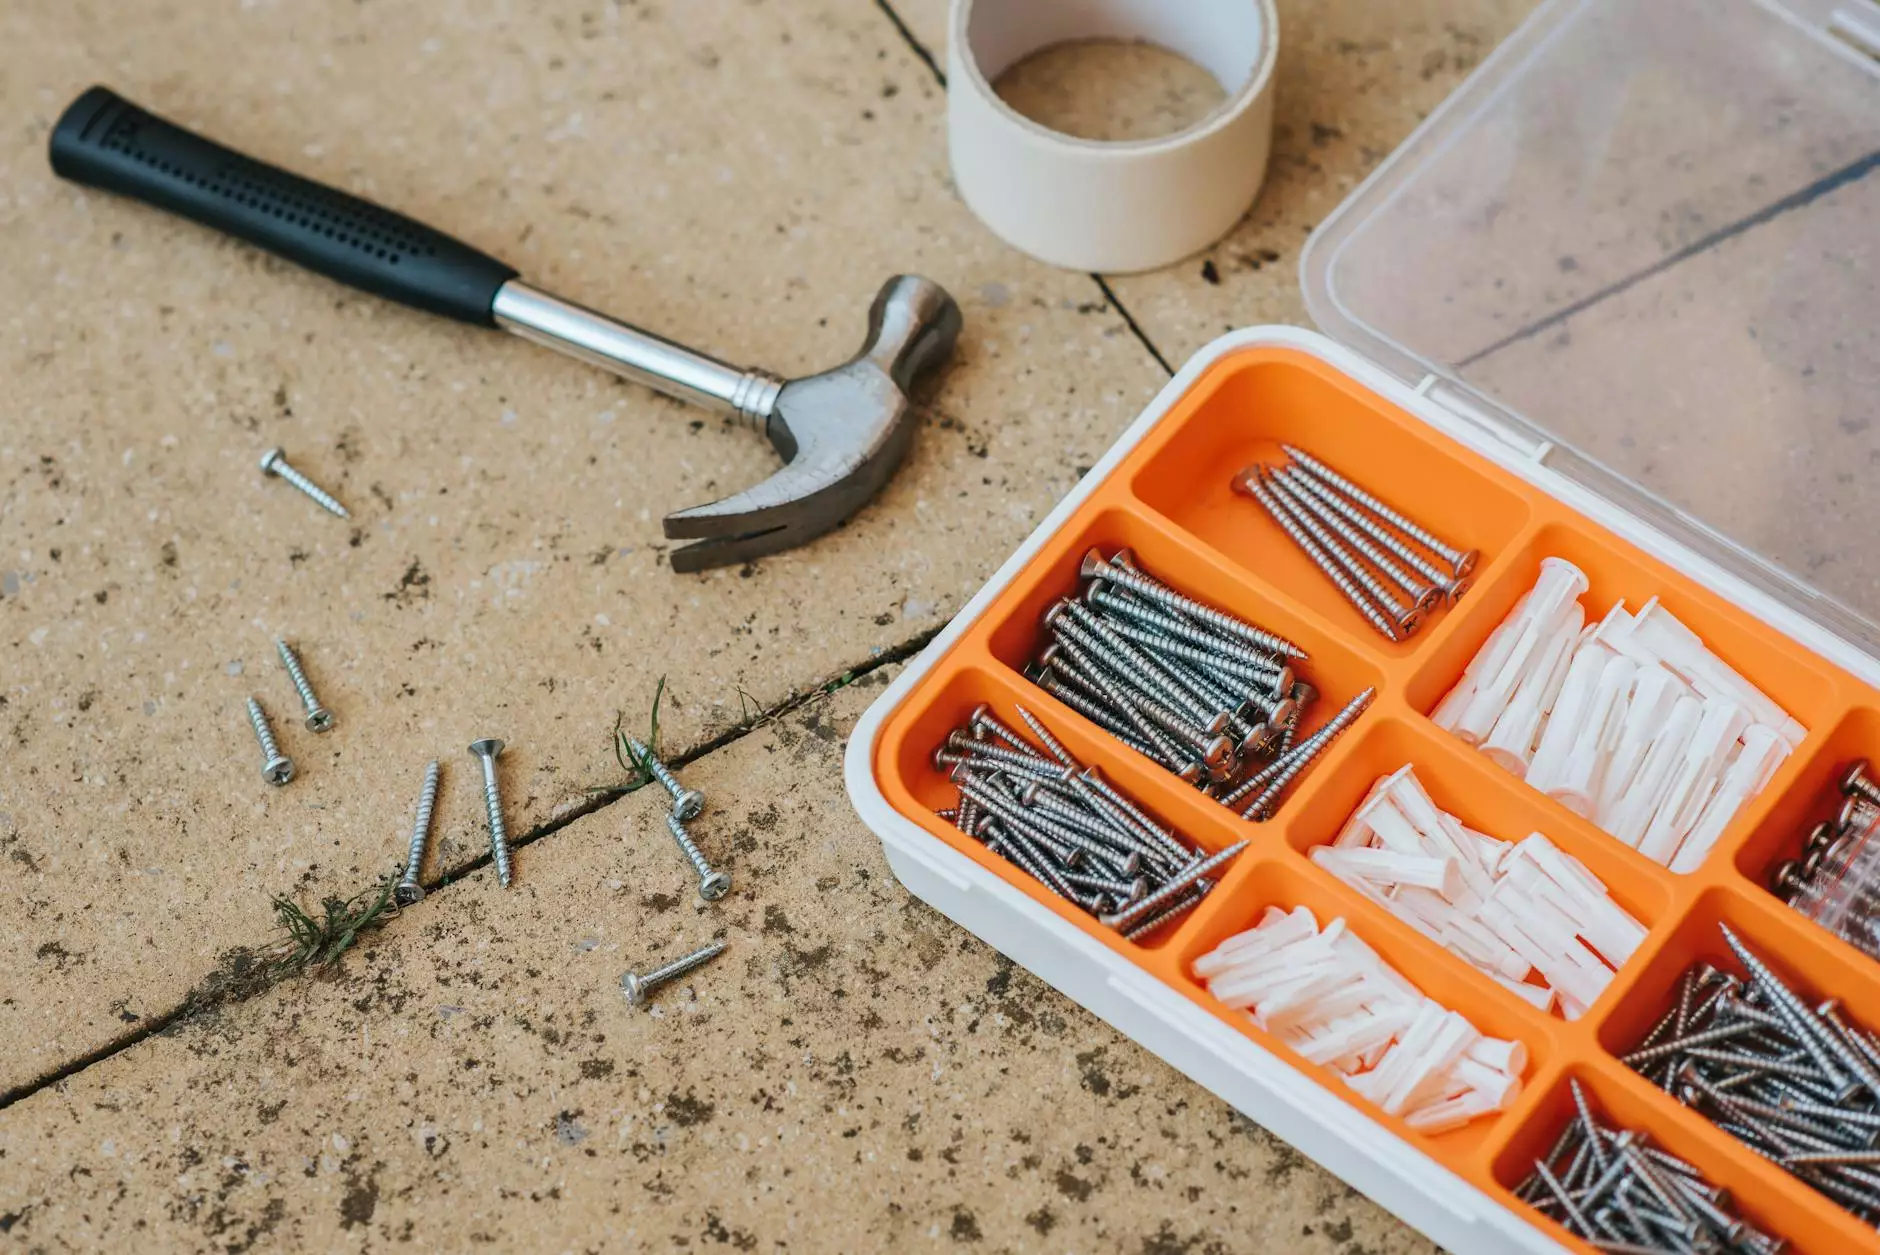
How to Make and Install a New Plastic Sheet Door Liner

Welcome to Grafco Electric, your trusted source for high-quality electrical products and solutions. In this guide, we will walk you through the process of making and installing a new plastic sheet door liner to enhance the insulation and appearance of your doors. By following our step-by-step instructions, you'll be able to achieve professional results and improve the energy efficiency of your home or business.
Why Plastic Sheet Door Liners?
Plastic sheet door liners are an excellent solution for improving insulation in both residential and commercial properties. They create a barrier that helps to keep out drafts, noise, and unwanted elements, ultimately leading to energy savings and increased comfort. Additionally, plastic sheet door liners can contribute to soundproofing and provide a clean, polished look to any door.
Materials You'll Need
Before getting started, gather the following materials:
- Plastic sheet (choose a high-quality, durable material suitable for your specific needs)
- Measuring tape
- Straight edge
- Utility knife
- Cutting surface
- Adhesive (select an adhesive specifically designed for plastic)
- Rubber roller or brayer
Step-by-Step Instructions
Step 1: Measure the Door
Start by measuring the dimensions of your door to determine the size of the plastic sheet needed. Be sure to measure the width, height, and thickness of the door accurately for precise fitting.
Step 2: Cut the Plastic Sheet
Using the measurements obtained in the previous step, mark and cut the plastic sheet accordingly. A straight edge and a utility knife can help achieve clean, straight cuts. Take your time and exercise caution while handling the utility knife to prevent any accidents.
Step 3: Test the Fit
Once you've cut the plastic sheet, test the fit by placing it against the door. Ensure that it covers the entire surface properly and aligns with the edges and corners. Make any necessary adjustments to achieve an accurate fit.
Step 4: Apply Adhesive
Apply the adhesive to the backside of the plastic sheet. Follow the manufacturer's instructions and use the appropriate amount. Be generous, but avoid applying too much adhesive to prevent excessive oozing.
Step 5: Install the Plastic Sheet
Carefully align the plastic sheet with the door and press it firmly against the surface. Smooth out any air bubbles or wrinkles using a rubber roller or brayer. Apply even pressure to ensure proper adhesion.
Step 6: Trim Excess Material
Once the plastic sheet is securely attached, trim any excess material along the edges using a utility knife. Take your time and use a straight edge for clean and precise cuts.
Step 7: Final Touches
Inspect the installed plastic sheet for any imperfections or loose areas. Make any necessary adjustments or readjustments. Once you are satisfied with the result, step back and admire your newly installed plastic sheet door liner.
Benefits of Plastic Sheet Door Liners
Plastic sheet door liners offer numerous benefits, including:
- Improved insulation
- Noise reduction
- Energy savings
- Enhanced door aesthetics
- Durability and longevity
- Easy maintenance
By installing plastic sheet door liners, you can create a more comfortable and energy-efficient environment while adding a touch of elegance to your space.
Get Started with Grafco Electric
At Grafco Electric, we understand the importance of quality solutions for your electrical needs. Whether you require products for residential, commercial, or industrial applications, we have you covered. Our team of experts is committed to delivering exceptional customer service and ensuring your complete satisfaction.
Visit our website today to explore our extensive product range and find innovative solutions for all your electrical requirements. Feel free to contact us if you have any questions or need assistance in choosing the right products for your specific needs. Let Grafco Electric be your partner in electrical excellence!


