Removing Stuck Radiator and Coolant Hoses

Welcome to Grafco Electric's comprehensive guide on removing stuck radiator and coolant hoses. In this detailed step-by-step tutorial, we will provide you with all the necessary information and techniques to successfully tackle this task. Whether you are a DIY enthusiast or a professional mechanic, our guide will ensure that you have the knowledge and tools to complete the job efficiently and effectively.
Understanding Radiator and Coolant Hoses
Before diving into the process of removing stuck radiator and coolant hoses, it is essential to understand their significance in maintaining your vehicle's cooling system. Radiator hoses connect the radiator to the engine and allow coolant circulation, while coolant hoses link various components of the cooling system together.
Over time, radiator and coolant hoses can become deteriorated, hardened, or even stuck due to heat, age, or other factors. This can lead to coolant leaks, decreased cooling system efficiency, and potential engine damage. Therefore, it is crucial to regularly inspect and replace these hoses when necessary.
Tools and Preparations
Before getting started, gather the following tools:
- Adjustable wrench
- Needle-nose pliers
- Hose clamp pliers
- Radiator hose pick
- Rubber mallet
- Silicone spray lubricant
- Bucket or drain pan
- Safety gloves and eyewear
Additionally, make sure you have the necessary replacement hoses and coolant available. Consult your vehicle's service manual or an authorized dealer to ensure you have the correct parts.
Step-by-Step Guide
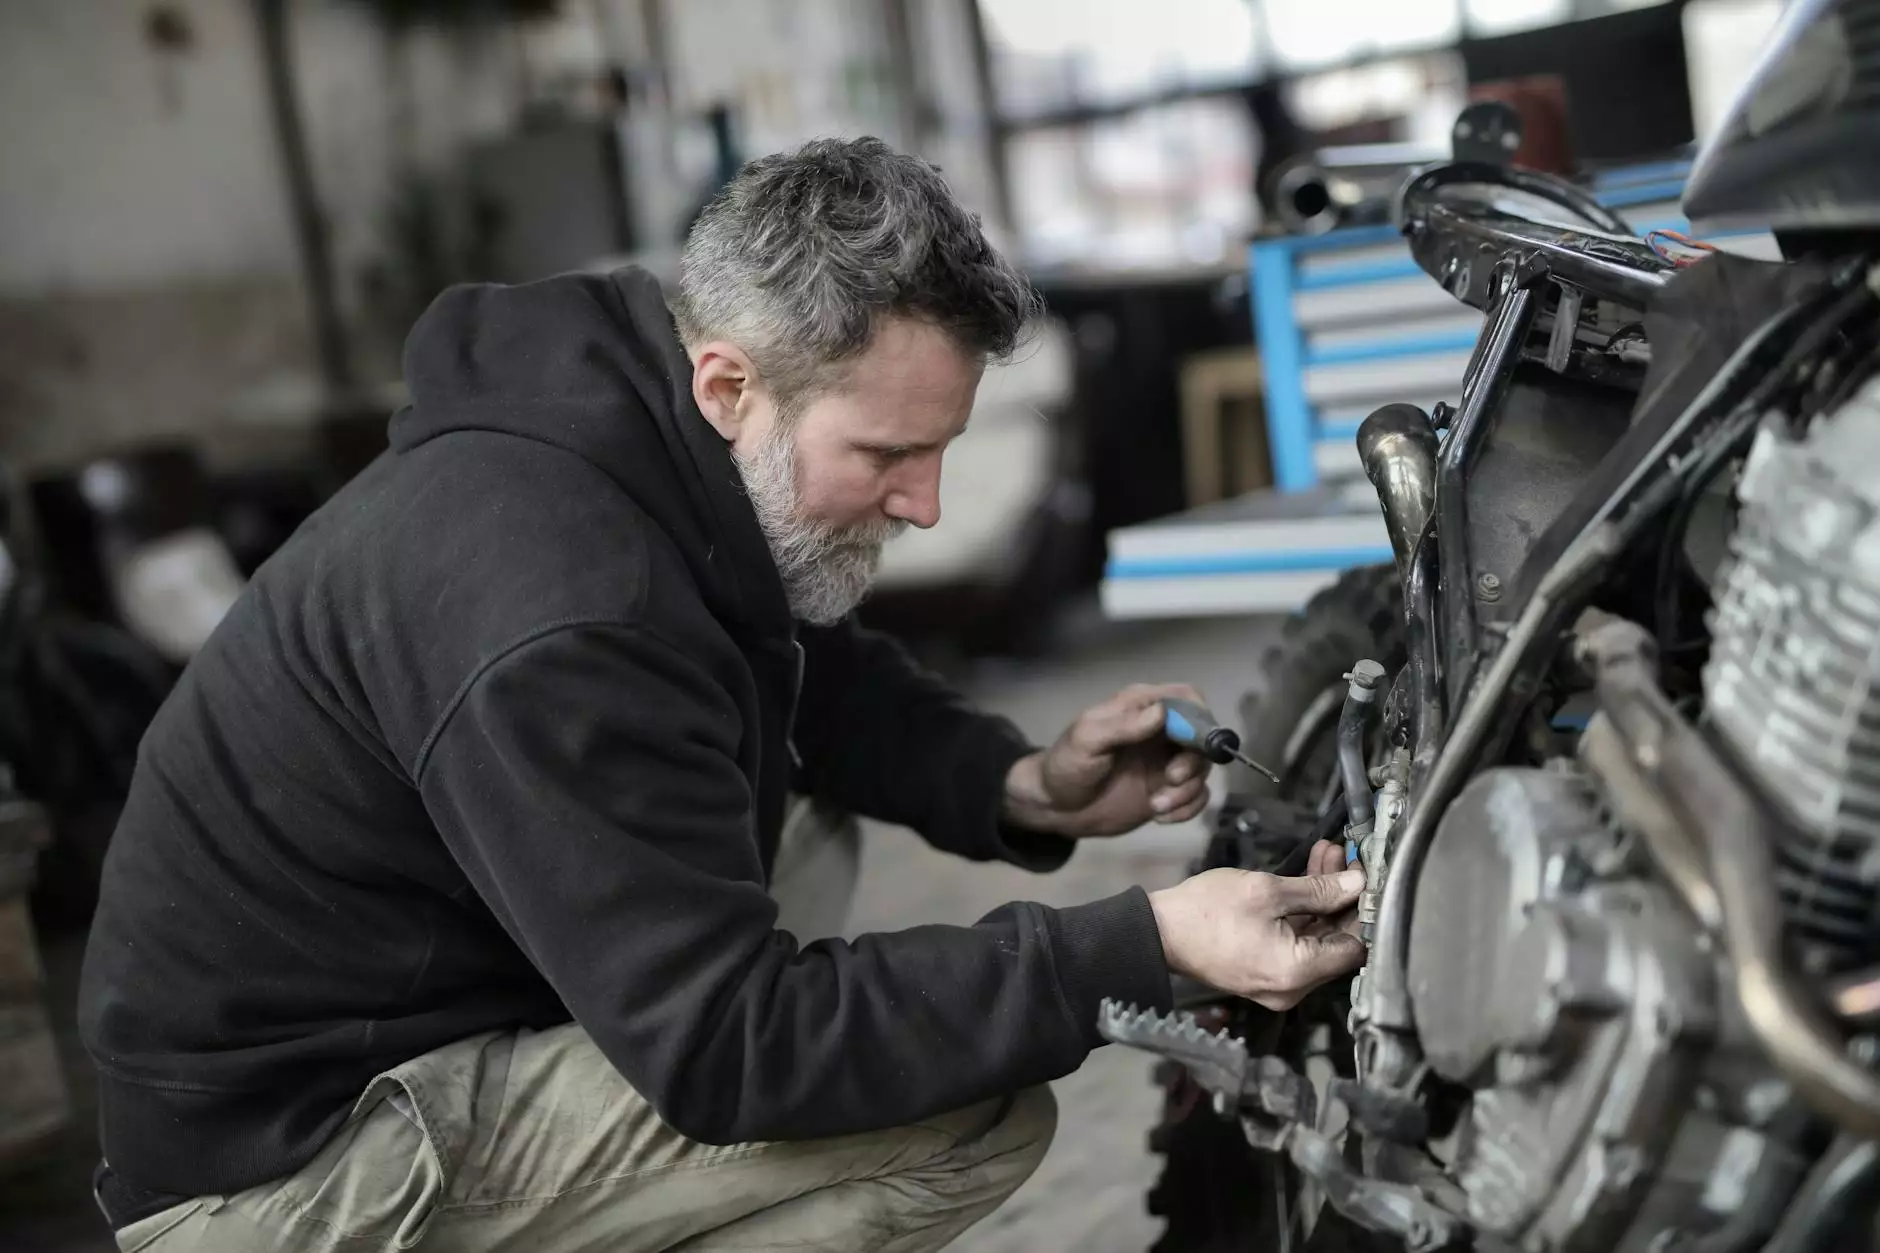
Step 1: Safety First
Prioritize safety by ensuring your vehicle is parked on a flat surface and the engine is completely cool. This will minimize the risk of burns from hot coolant and allow for safer handling of parts.
Step 2: Locate the Hoses
Identify the radiator hoses and coolant hoses in your vehicle's engine bay. The radiator hoses are generally larger in diameter and connect the radiator to the engine. Coolant hoses can range in size and connect various components such as the water pump, thermostat housing, and heater core.
Step 3: Drain the Coolant
Using a bucket or drain pan, carefully position it under the radiator drain valve or lower radiator hose. Open the valve or disconnect the lower radiator hose to drain the coolant. This step is crucial to prevent any spills or leaks during hose removal.
Step 4: Loosen Hose Clamps
Using hose clamp pliers, loosen the clamps securing the hoses at both ends. This will allow for easier removal without damaging the hoses or surrounding components. If the clamps are rusted or too tight, applying silicone spray lubricant can help loosen them.
Step 5: Break the Seal
In some cases, hoses can become stuck due to the formation of a seal between the hose and the connection points. To break this seal, gently twist the hoses back and forth while applying even pressure. Avoid using excessive force to prevent any damage.
Step 6: Use Hose Removal Techniques
If the hoses remain stuck, there are a few techniques you can employ:
- Radiator Hose Pick: This specialized tool allows you to carefully pry between the hose and the connection point, gradually loosening the bond.
- Rubber Mallet: Lightly tap the hose connection to create vibrations that can help break the bond.
- Heat Application: Using a heat gun or warm water, gently heat the hose connection to expand the material and facilitate removal.
Remember to proceed with caution and employ these techniques incrementally, checking for any signs of hose damage.
Step 7: Inspect and Clean
Once the hoses are successfully removed, inspect them for signs of wear, cracks, or leaks. If any damage is detected, it is recommended to replace the hoses with new ones to prevent future issues. Clean the connection points thoroughly to ensure a proper seal when installing the new hoses.
Step 8: Install New Hoses
Apply a small amount of coolant or silicone lubricant to the connection points to assist in the installation of the new hoses. Slide the new hoses onto their respective connections, ensuring a snug fit. Secure the hoses with appropriate clamps and tighten them adequately.
Step 9: Refill Coolant
Refill the cooling system with the appropriate type and quantity of coolant. Be sure to follow the manufacturer's instructions and bleed any air pockets from the system to ensure optimal performance.
Step 10: Test and Verify
Start the engine and allow it to reach operating temperature while monitoring for any coolant leaks. Confirm that the hoses are properly connected and that the cooling system is functioning as expected. Keep an eye on the temperature gauge for any irregularities.
Conclusion
Congratulations! You have successfully learned how to remove stuck radiator and coolant hoses. By following our comprehensive guide, you can efficiently and safely handle this task, improving your vehicle's cooling system performance. Remember to prioritize regular maintenance and inspections to avoid potential issues in the future.
For any further assistance or professional help regarding your vehicle's electrical system, please contact Grafco Electric. We are dedicated to providing top-notch services and solutions to all your automotive needs.
Note: Remember to consult your vehicle's service manual or seek professional advice before attempting any repairs or maintenance tasks to ensure your safety and prevent any damage to your vehicle.