74 240D Oil Bath Air Filter Service
Introduction
Welcome to our comprehensive guide on servicing the oil bath air filter of a 74 240D. Grafco Electric is your go-to resource for automotive electrical solutions, and we are committed to helping you maintain your vehicle's optimal performance.
Why is the Oil Bath Air Filter Important?
The oil bath air filter plays a crucial role in maintaining the engine's health by filtering out dirt, dust, and other particles before they enter the combustion chamber. A clean air filter ensures efficient fuel combustion, extends the engine's lifespan, and improves overall performance.
Step-by-Step Guide to Servicing the Oil Bath Air Filter
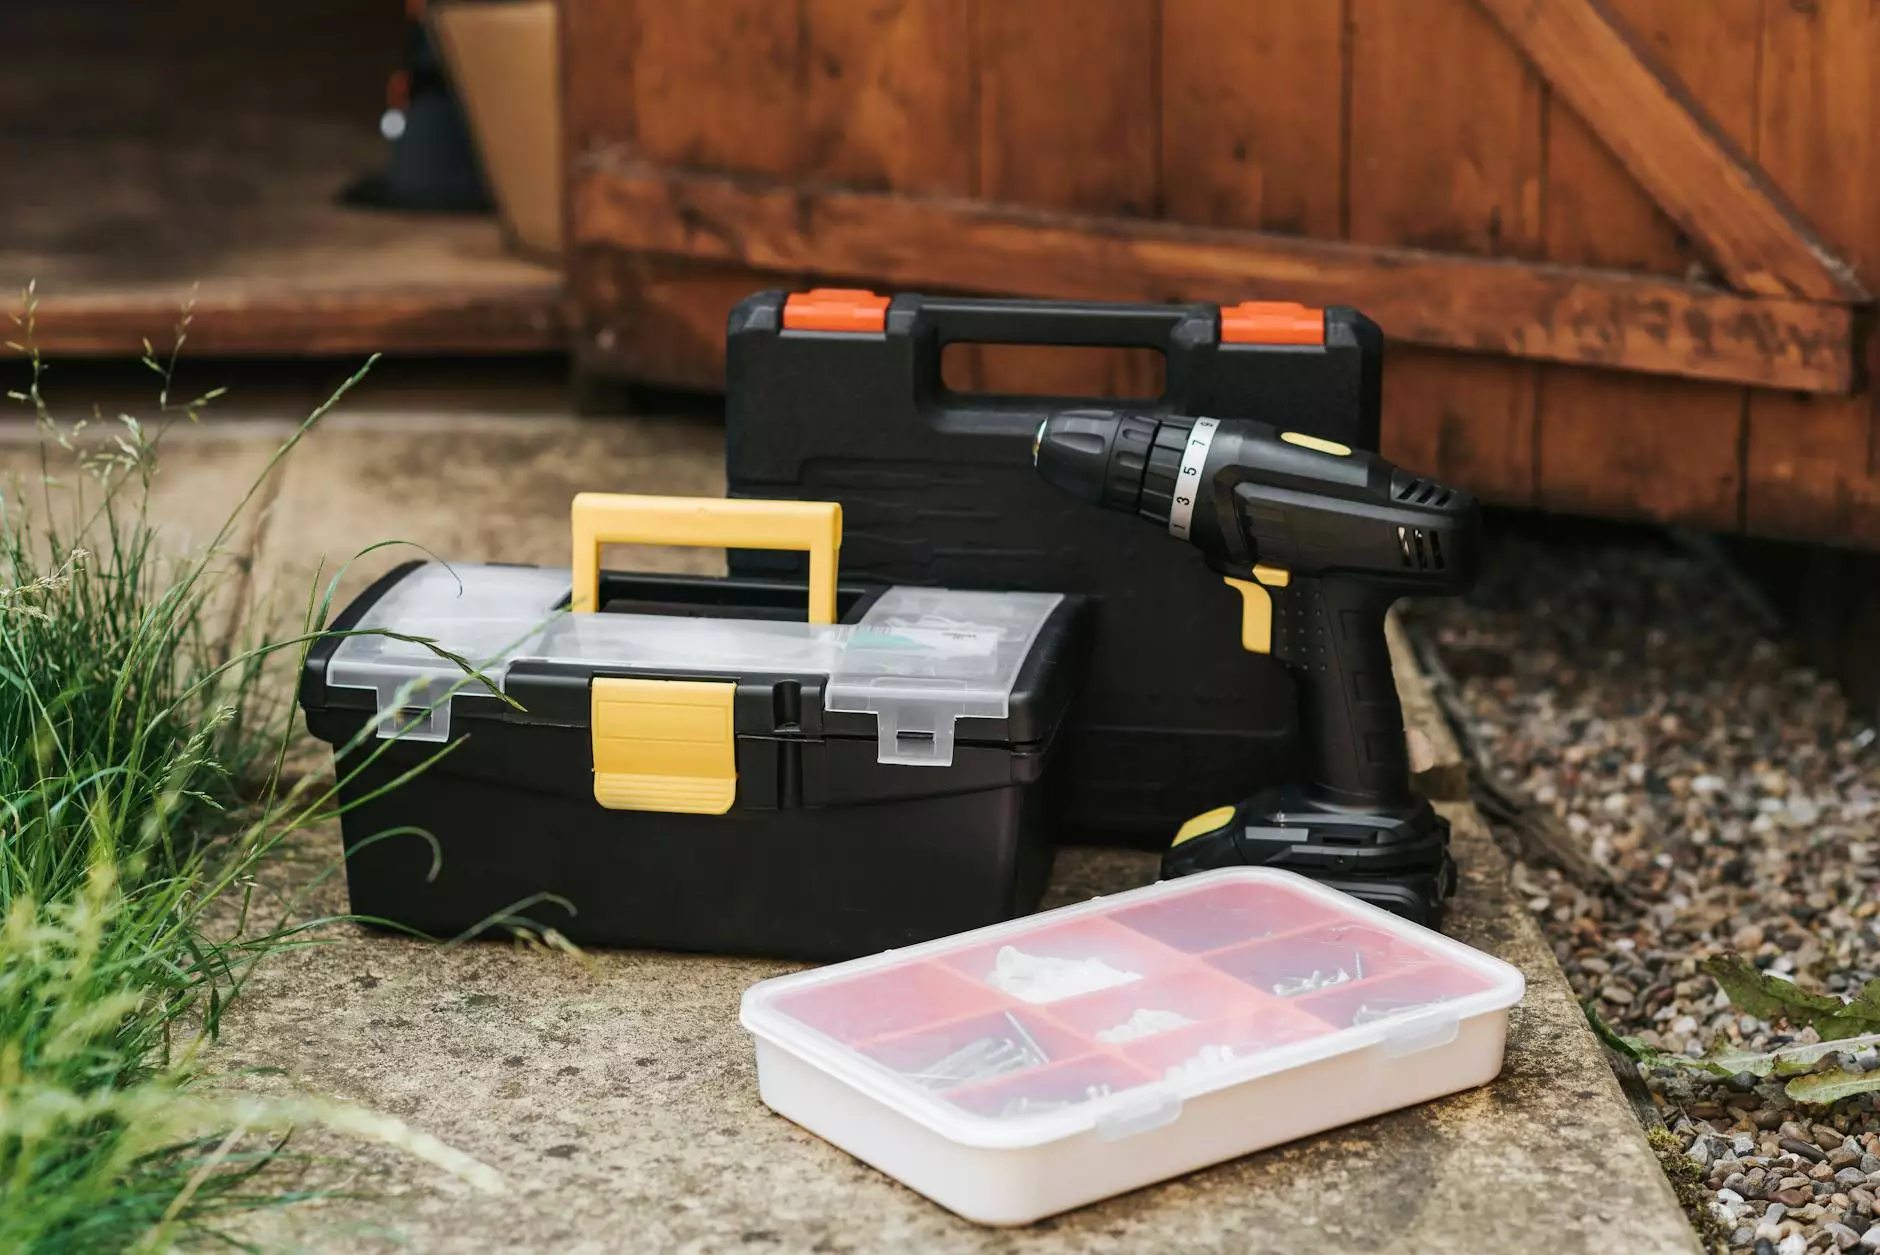
Step 1: Prepare the Necessary Tools
Before beginning the oil bath air filter service, gather the following tools:
- Socket set
- Screwdriver
- Filter cleaning kit
- Rags or paper towels
- New filter oil
Step 2: Locate the Air Filter Housing
The air filter housing is typically located on the top of the engine. Consult your vehicle's manual or do a quick online search to locate the specific position for the 74 240D.
Step 3: Remove the Air Filter Housing Cover
Using the appropriate socket or screwdriver, carefully remove the screws or fasteners securing the air filter housing cover in place. Set them aside in a safe place to avoid misplacement.
Step 4: Access the Oil Bath Filter Element
Once the cover is removed, you will have clear access to the oil bath filter element. Take note of its position and any additional clips or connectors that may be holding it down.
Step 5: Remove and Clean the Filter Element
Gently lift the oil bath filter element from its housing. Inspect it for excessive dirt or debris. If the filter appears clogged, it is time for a thorough cleaning.
Using the filter cleaning kit, carefully follow the manufacturer's instructions to remove dirt and grime. Ensure that the cleaning solution is thoroughly rinsed off before proceeding.
Step 6: Dry and Oil the Filter
Allow the filter element to air dry completely before reinserting it back into the housing. Once dry, apply a generous amount of new filter oil to ensure proper filtration.
Step 7: Reassemble the Air Filter Housing
Carefully place the clean and oiled filter element back into the air filter housing, ensuring it is properly aligned. Secure any clips or connectors that were previously removed.
Finally, reattach the air filter housing cover using the screws or fasteners you set aside earlier. Ensure they are tightened appropriately, but avoid overtightening.
Conclusion
Congratulations! You have successfully serviced the oil bath air filter of your 74 240D. Regularly maintaining this critical component of your vehicle's engine will help maximize performance and extend its lifespan.
For all your automotive electrical needs, rely on Grafco Electric. With our expertise and wide range of solutions, we are dedicated to providing top-notch products and services that exceed your expectations.