300 D Valve Adjustment

Welcome to Grafco Electric, your trusted source for high-quality automotive services. In this guide, we will walk you through the process of valve adjustment for the 300 D model. With our step-by-step instructions, expert tips, and detailed insights, you'll be equipped with the knowledge to achieve optimal valve performance for your vehicle.
Understanding Valve Adjustment
Valve adjustment plays a crucial role in maintaining engine performance and ensuring efficient combustion. Over time, wear and tear may cause the valve clearances to deviate from the manufacturer's specifications. This can result in decreased engine efficiency, power loss, and increased emissions. By performing regular valve adjustments, you can mitigate these issues and prolong the lifespan of your engine.
The Importance of Proper Valve Clearance
Proper valve clearance allows for the ideal interaction between the camshaft and valves. With incorrect clearances, the valves may not fully close or open within the optimal timing, affecting engine performance. Addressing this issue through valve adjustment will help restore the smooth operation of your 300 D, improving power delivery and fuel efficiency.
Step-by-Step Valve Adjustment Process
Performing valve adjustment on your 300 D requires precision and attention to detail. Follow these steps carefully to achieve the best results:
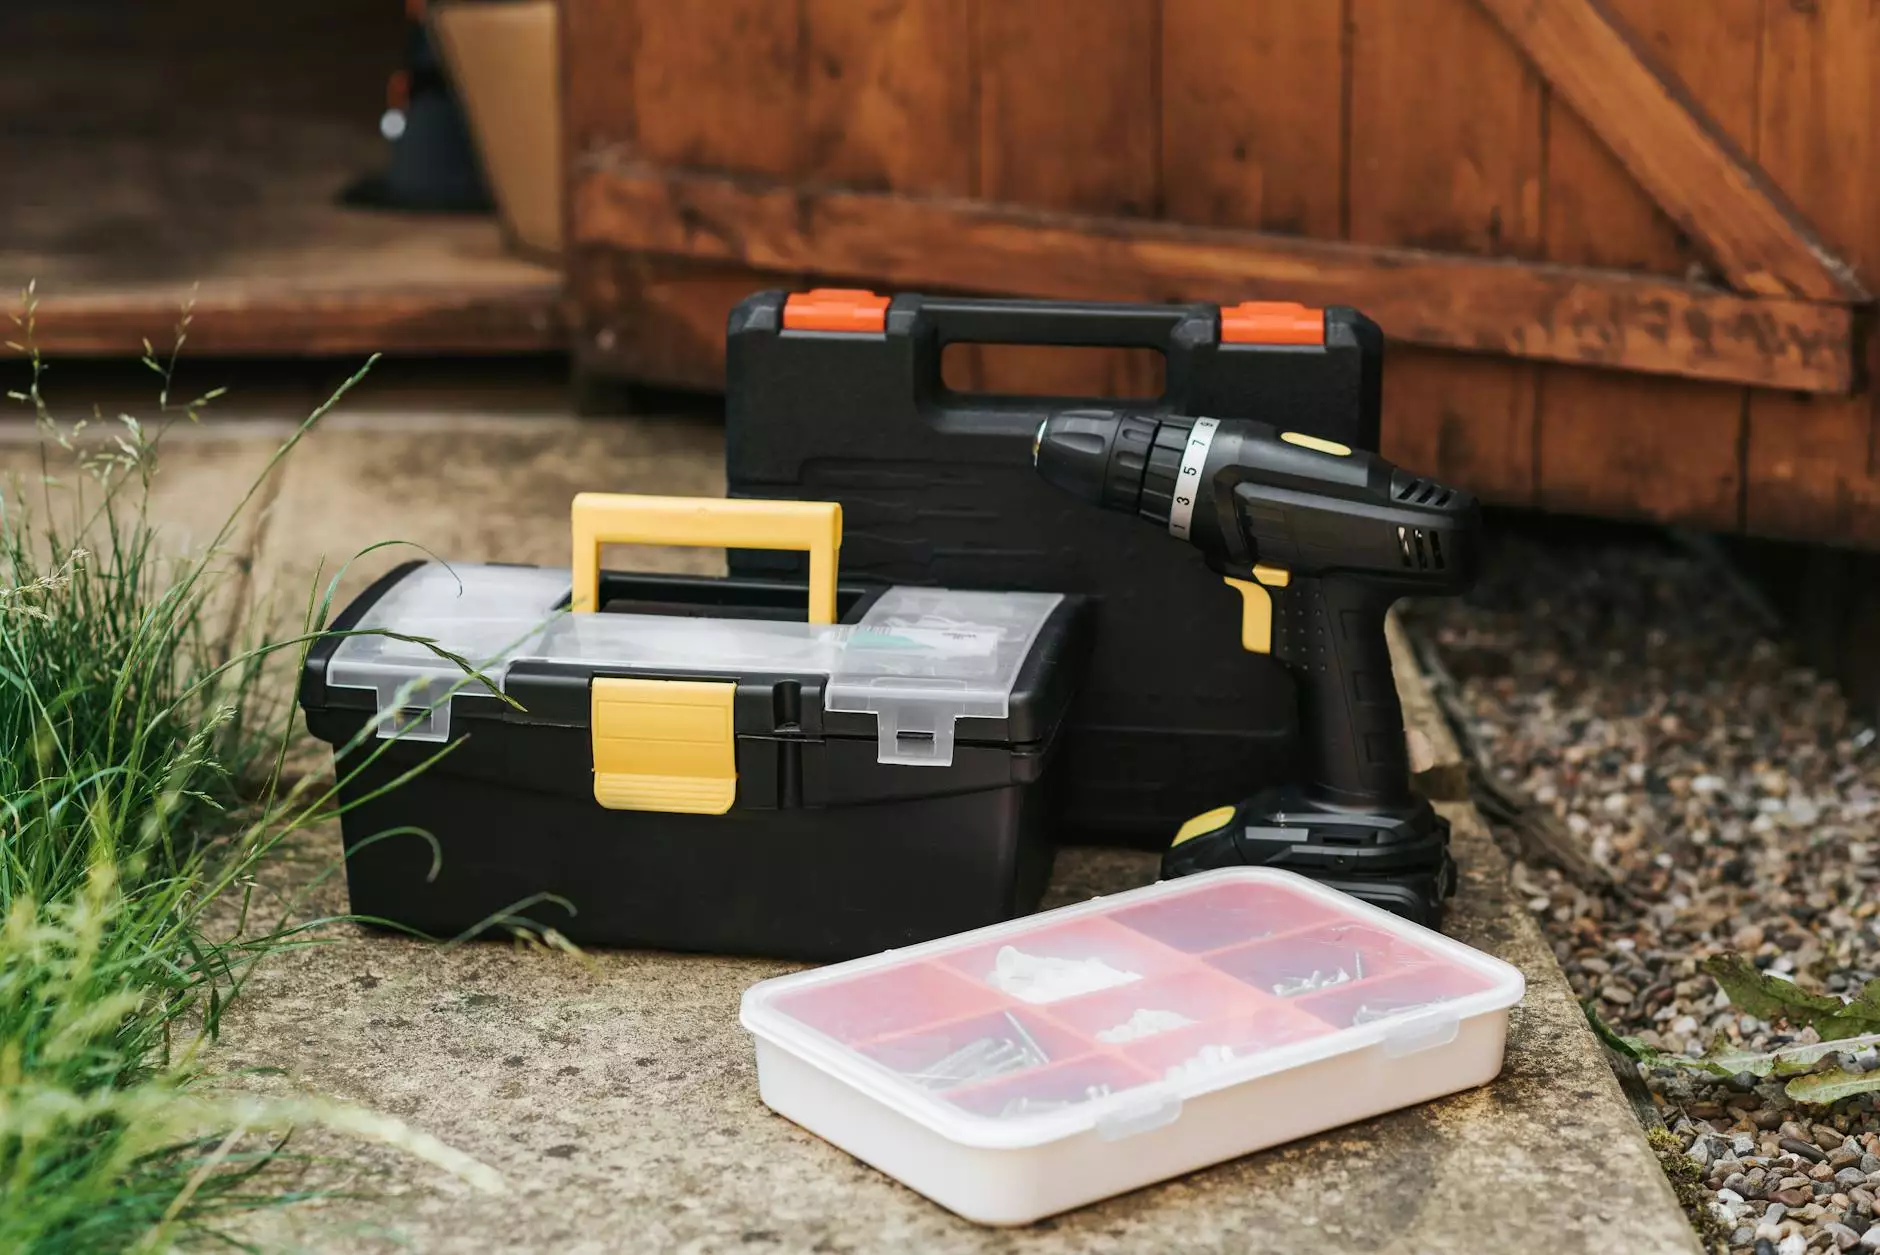
- Gather the Necessary Tools: Before starting the valve adjustment process, ensure you have the following tools on hand: feeler gauges, a wrench, a ratchet, various sockets, and a torque wrench.
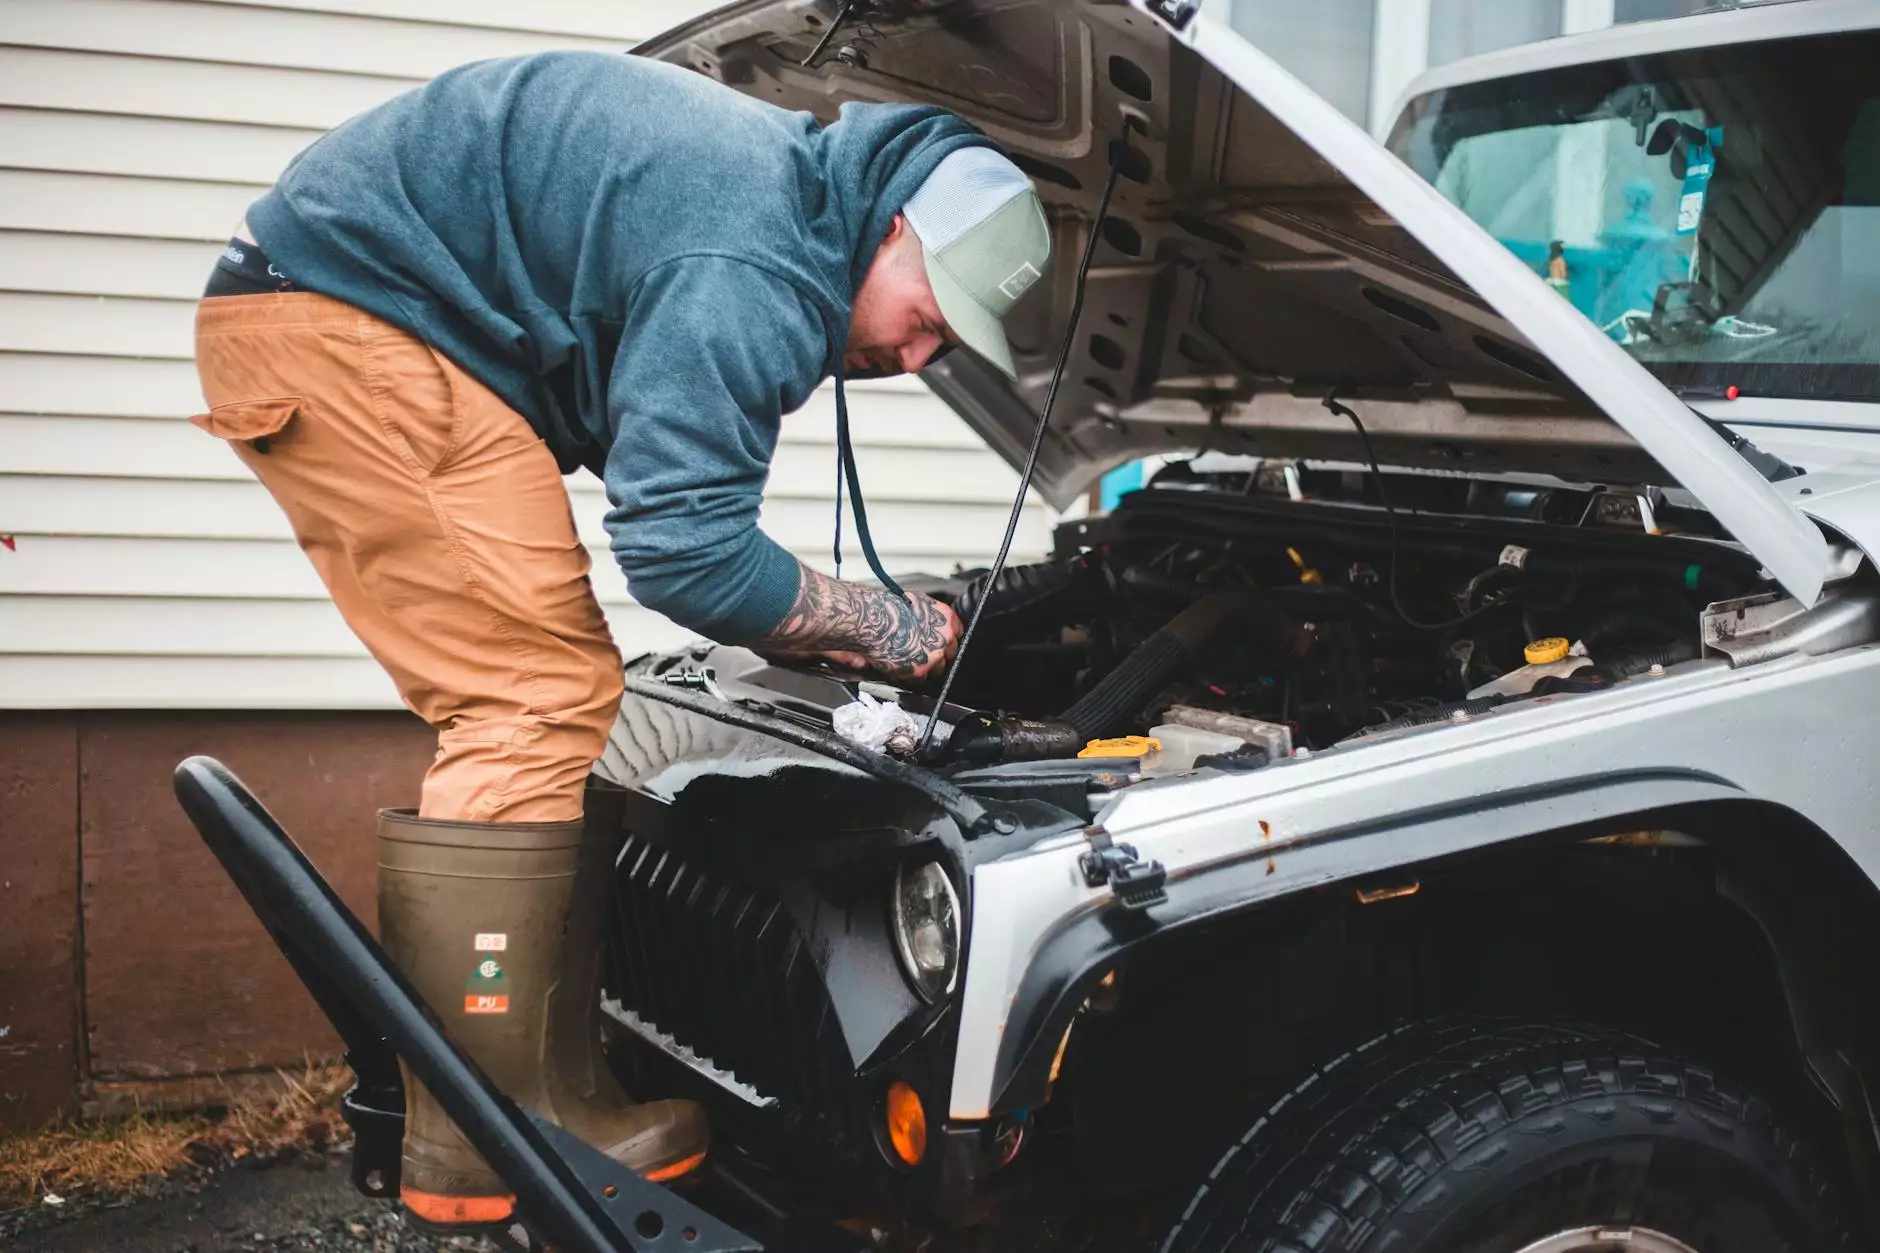
- Prepare the Engine: Begin by allowing the engine to cool down completely. Locate the valve cover and remove it using the appropriate socket size.
- Identify the Valve Adjustment Points: Each cylinder has its own adjustment points. Identify and focus on one cylinder at a time to ensure accurate adjustments.
- Find Top Dead Center (TDC): Rotate the crankshaft using the appropriate socket until the piston of the targeted cylinder is at the top dead center position.
- Check Valve Clearances: Using the feeler gauges, measure the clearances of both the intake and exhaust valves. Refer to the vehicle's manual for the precise specifications.
- Make Adjustments: If any valve clearances are outside the specified range, use the wrench and ratchet to loosen the lock nut, followed by adjusting the valve clearances to the correct values. Remember to recheck the clearances after tightening the lock nut.
- Repeat for Each Cylinder: Repeat steps 3-6 for all cylinders, ensuring proper clearances are achieved.
- Reinstall the Valve Cover: Once all adjustments are complete, reinstall the valve cover and tighten the bolts to the recommended torque specification using a torque wrench.
- Test and Verify: After reassembling, start the engine and listen for any abnormal noises. Monitor the engine performance to ensure smooth operation and improved power delivery.
Tips and Best Practices
To further enhance your valve adjustment process and optimize engine performance, consider these expert tips:
- Follow the Recommended Service Intervals: Regularly check and adjust the valves according to the manufacturer's recommended service schedule. This will help prevent severe damage and maintain optimal performance.
- Pay Attention to Symptoms: If you notice symptoms such as unusual engine noise, decreased power, or poor fuel efficiency, it may be a sign that valve adjustment is necessary.
- Use Quality Parts: When replacing any components during the adjustment process, ensure you use high-quality parts specifically designed for your 300 D model. This will guarantee long-lasting performance and compatibility.
- Consult a Professional Mechanic: If you are unsure about any step during the valve adjustment process or encounter difficulties, it is recommended to consult a professional mechanic for guidance.
At Grafco Electric, we understand the importance of proper valve adjustment for maintaining optimal engine performance. By following our comprehensive guide, you can confidently perform valve adjustments on your 300 D model, ensuring its longevity and reliability. If you have any further questions or require assistance, please don't hesitate to reach out to our experienced team.