D.I.Y. Engine Removal Checklist for 1985 and Older Mercedes Diesel
Introduction
Welcome to Grafco Electric, your go-to resource for D.I.Y. automotive projects. In this comprehensive guide, we will walk you through the step-by-step process of removing the engine from your 1985 or older Mercedes diesel vehicle. Whether you're looking to perform major repairs or simply want to give your engine a thorough inspection, our detailed checklist will provide you with the guidance and confidence to successfully complete the task.
Why Remove the Engine?
Removing an engine is often necessary for various reasons. Whether you're replacing a faulty engine component, performing a complete engine overhaul, or upgrading to a more powerful engine, taking out the engine allows for easier access to critical parts and streamlines the repair or modification process. By following our checklist, you'll have a clear understanding of the steps involved in a successful engine removal.
Tools and Equipment
Before you begin the engine removal process, it's important to ensure you have the necessary tools and equipment. Here are a few items you'll need:
- Socket set with various sizes
- Wrench set
- Engine hoist or cherry picker
- Engine leveler
- Jack stands
- Shop crane or engine stand
- Oil drain pan
- Safety goggles and gloves
Step 1: Preparation
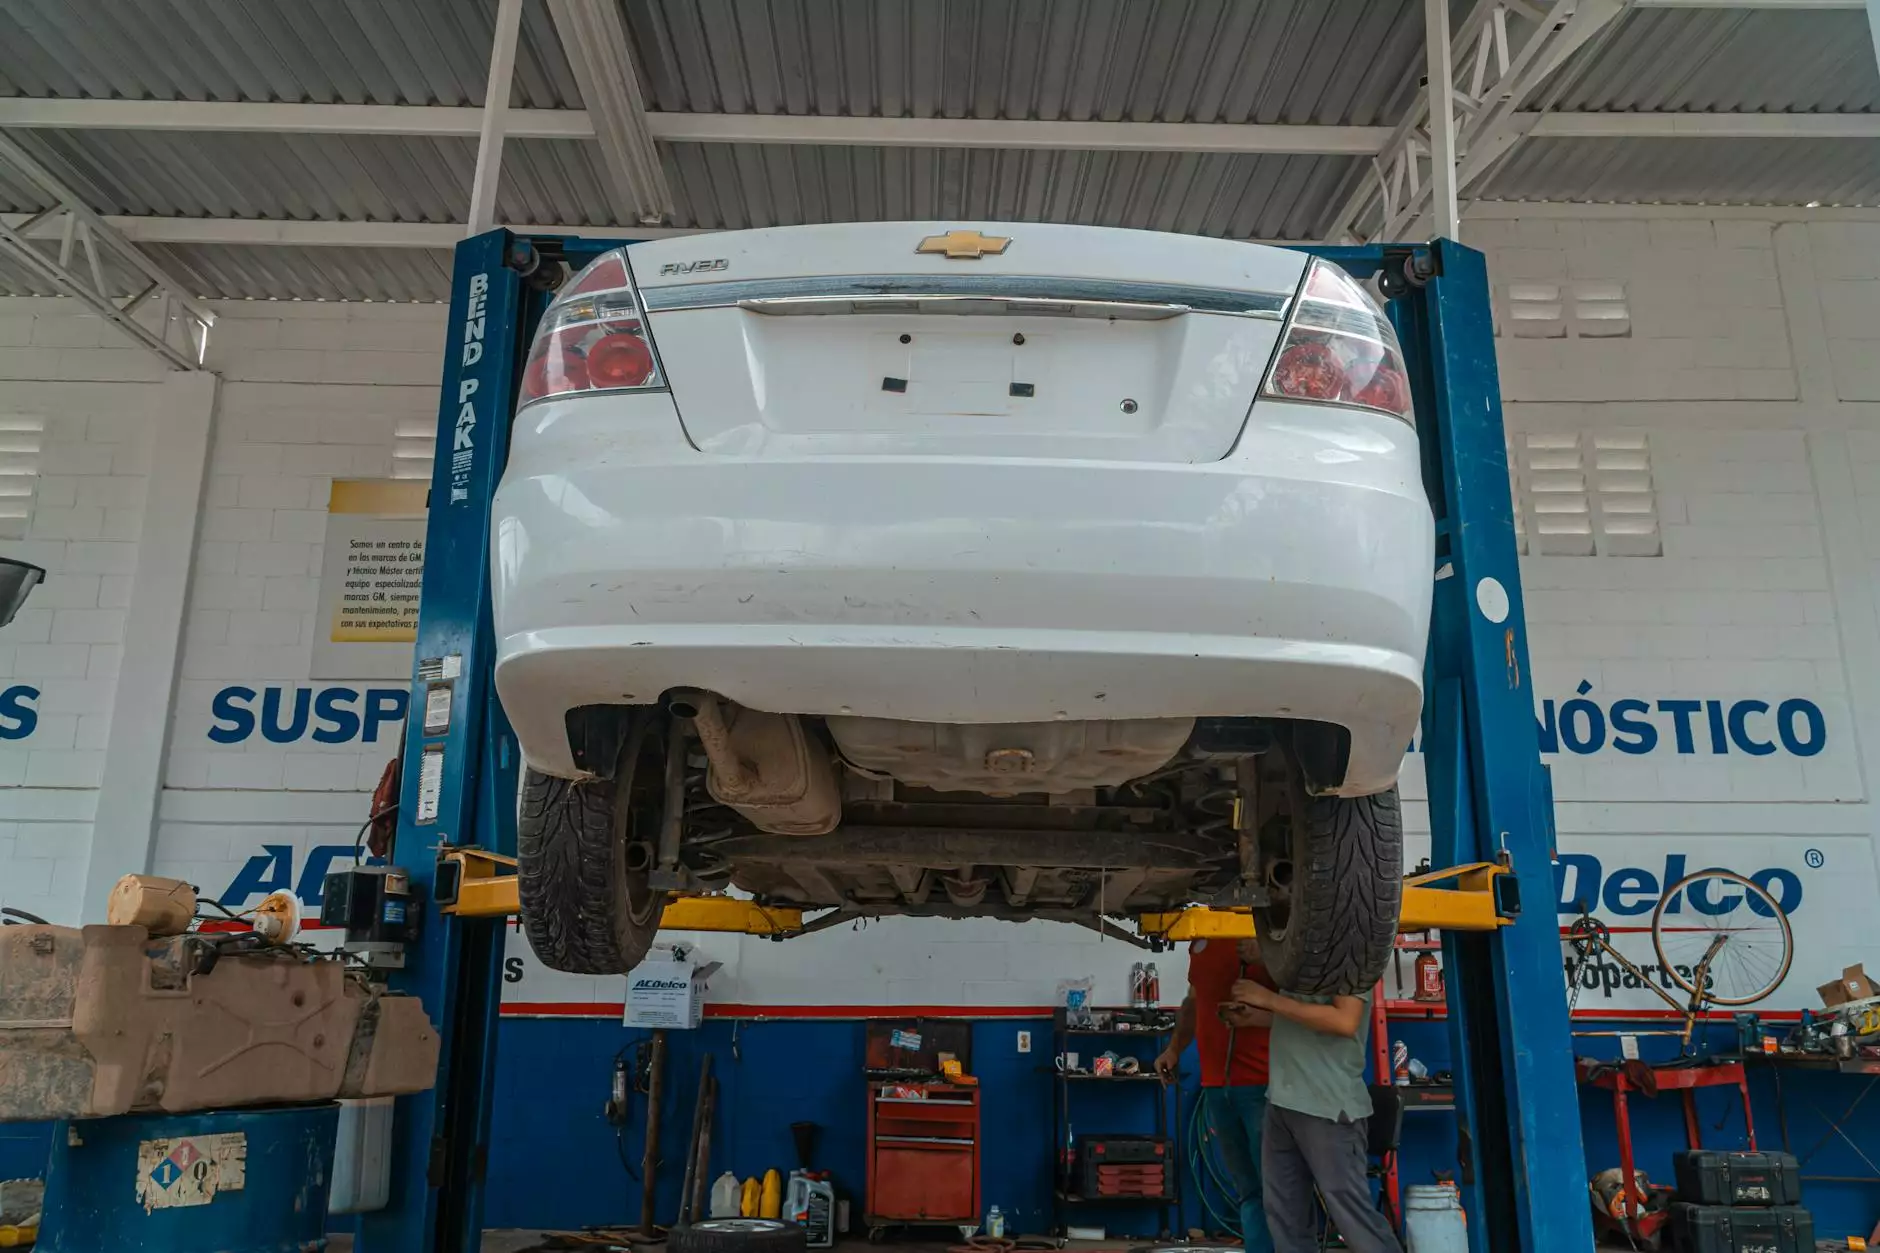
Begin by ensuring your vehicle is parked on a flat and stable surface. Disconnect the battery and drain the engine coolant and oil into suitable containers. Safely raise the front of the vehicle using a jack and securely support it with jack stands. Remove any components obstructing the engine bay, such as the air filter assembly, radiator, and cooling fan.
Step 2: Disconnecting Components
Before removing the engine, it's crucial to disconnect all electrical and mechanical components. This includes disconnecting the wiring harness, fuel lines, exhaust system, and any remaining hoses or connectors. Take your time to label or document the connections to ensure proper reinstallation later on.
Step 3: Engine Mounts and Transmission
With the components disconnected, it's time to focus on the engine mounts and transmission. Using appropriate tools, remove the bolts securing the engine mounts to the chassis. You may need to lift the engine slightly with the hoist or crane to relieve pressure on the mounts. Once the mounts are disconnected, unbolt the transmission from the engine using the appropriate socket or wrench. Carefully lower the engine and transmission assembly onto the engine stand or shop crane.
Step 4: Final Checks and Removal
Before completely removing the engine, conduct a final inspection to ensure all connections have been properly detached. Double-check that no hoses, wires, or cables are still attached to the engine. With everything confirmed, use the engine hoist or crane to lift the engine and carefully maneuver it out of the engine bay. Take your time and work progressively, ensuring clearance and avoiding any potential damage.
Conclusion
Congratulations! You have successfully completed the engine removal process for your 1985 or older Mercedes diesel vehicle. By following this step-by-step checklist provided by Grafco Electric, you've acquired the knowledge and skills to perform this complex task. Remember to exercise caution and always prioritize safety when working on your vehicle. Stay tuned for more D.I.Y. automotive guides and tutorials from Grafco Electric.